Create Your First C# Project with VS, VS Code, Rider, or dotnet CLI

Table of Contents
Introduction
In this article we will guide you in creating your first C# project using three IDEs, Visual Studio, Visual Studio Code, and Rider. We will round out the article by also showing you using dotnet CLI tool.
Before you start
In our previous article on introducing and installing .NET, we have a section on Verifying your .NET installation. If you already know you have .NET installed, please continue. If you are unsure, use the previous article to ensure you have .NET installed, and you will be ready to go.
Do you have an Integrated Development Environment (IDE) installed?
Below are instructions on how to install Visual Studio, Visual Studio Code, JetBrains Rider IDEs, and also how to configure them to develop for C#.
If you do not have an IDE to develop C# in, please choose one of those listed below and install using the guide in the relevant tab.
Install and configure Visual Studio for C# development on Windows
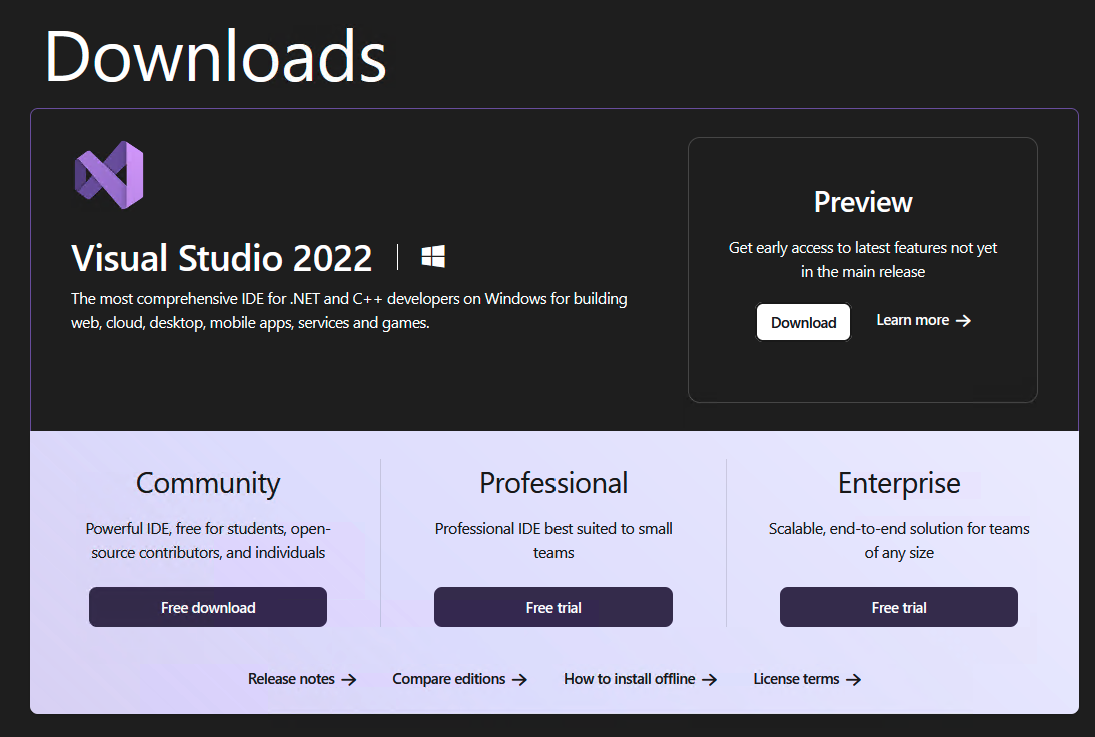
Head over to the Visual Studio download page in your favourite internet browser.
Choose the Free download button and download Visual Studio Community Edition.
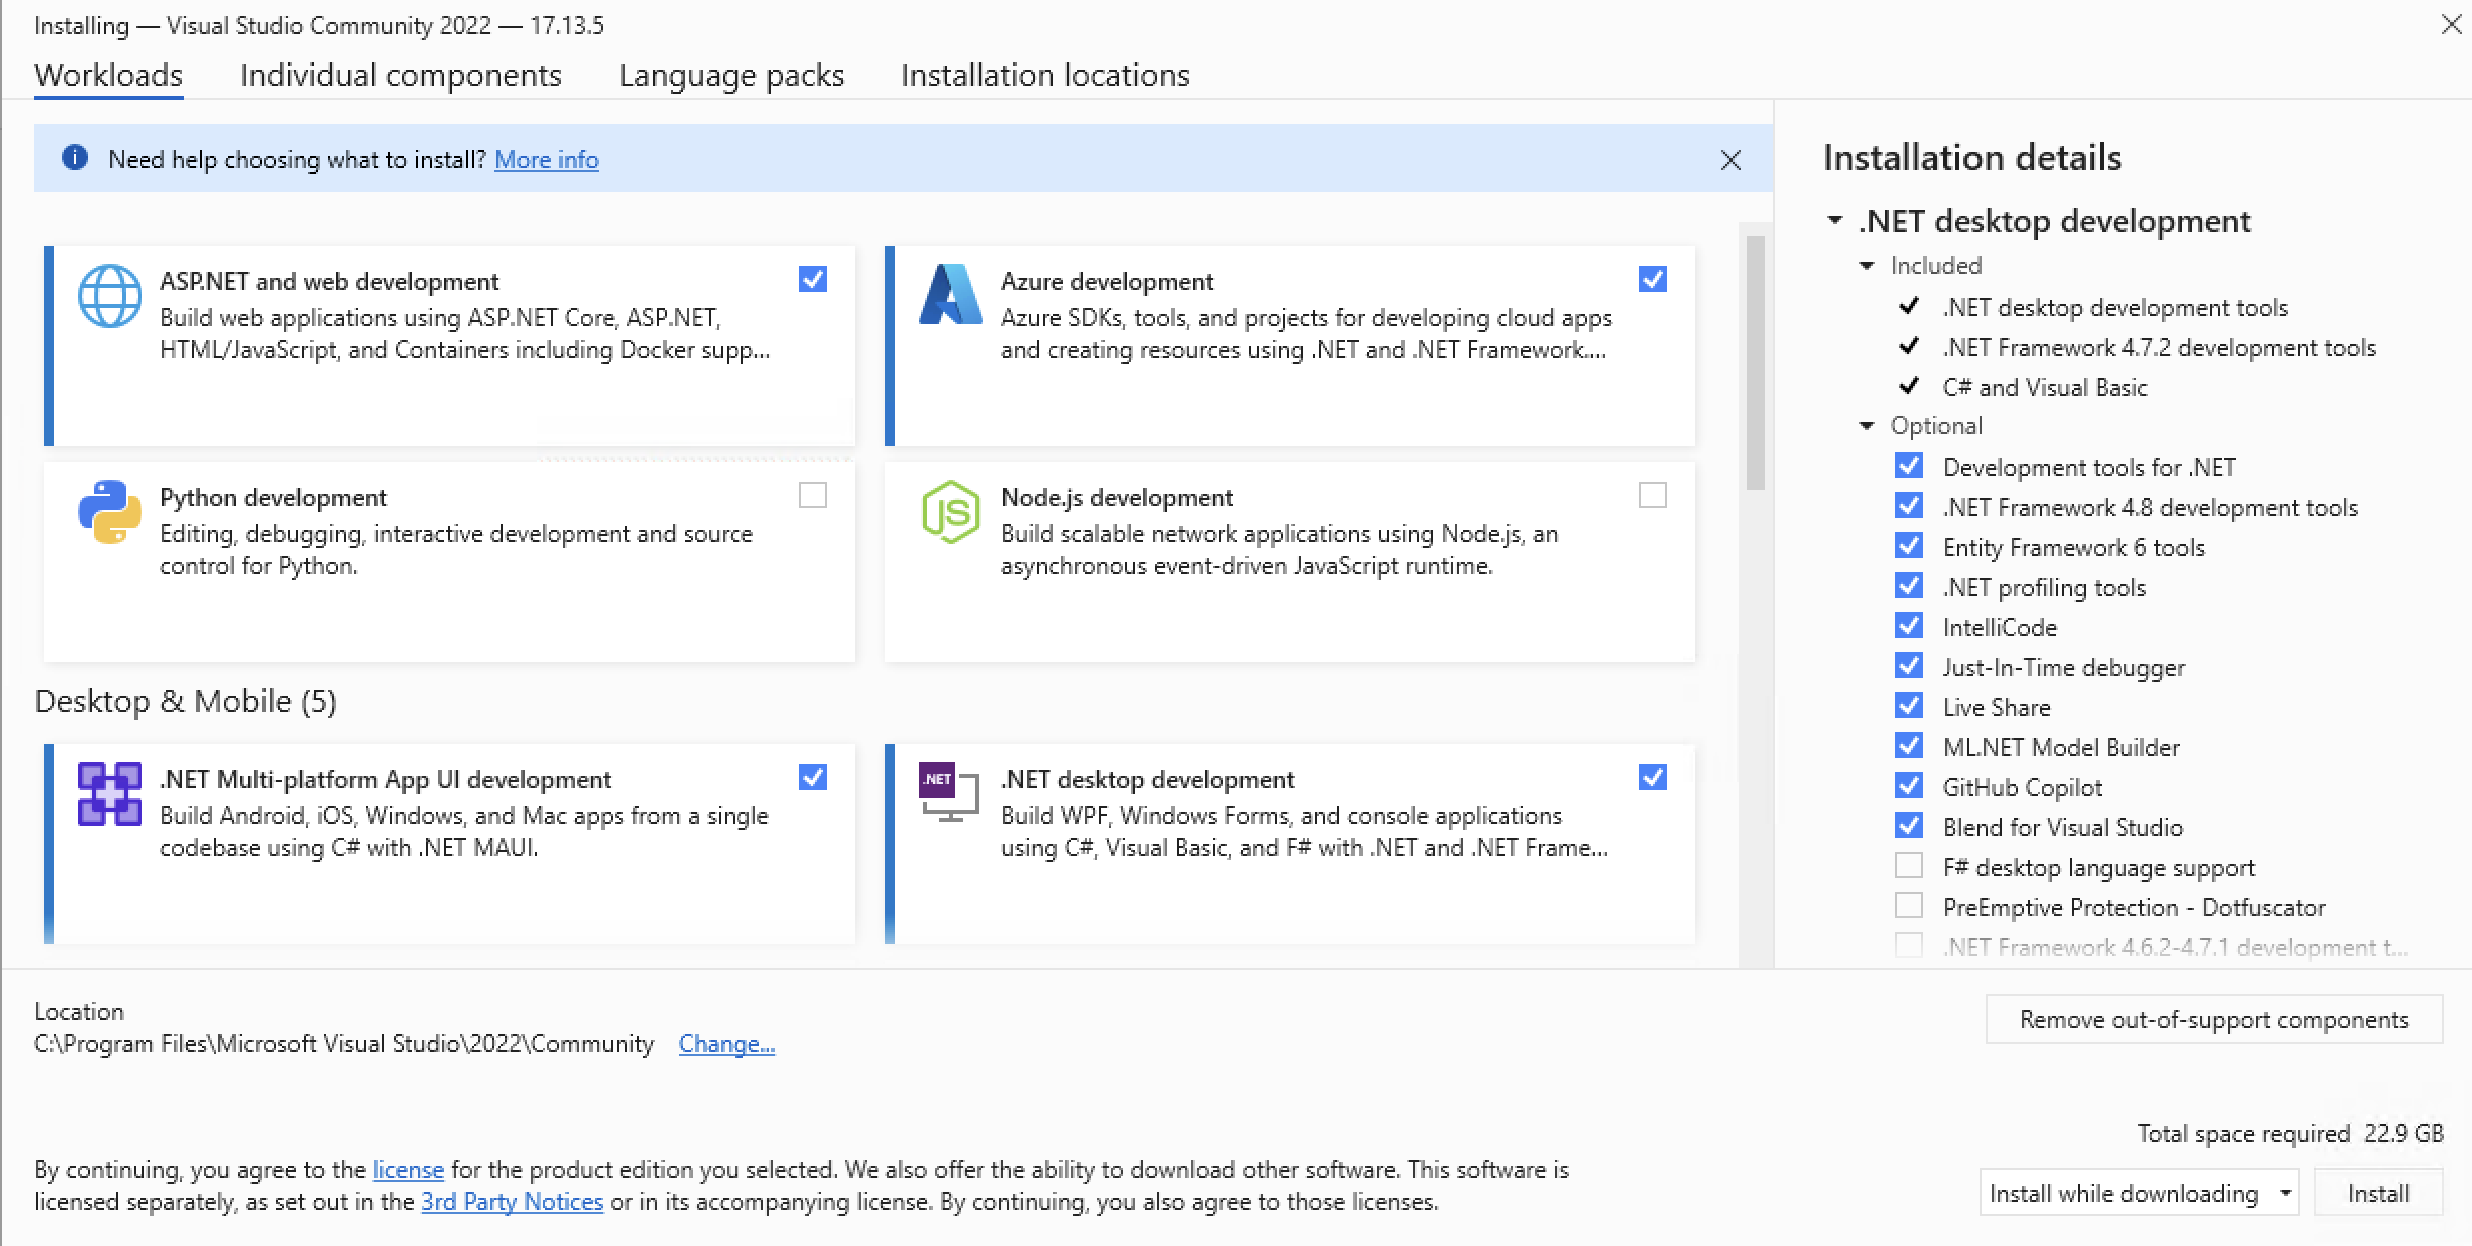
Open the downloaded installer, and on the workloads selection screen choose the following and tap the Install button.
- ASP.NET and web development
- Azure development
- .NET Multi-platform App UI development
- .NET desktop development
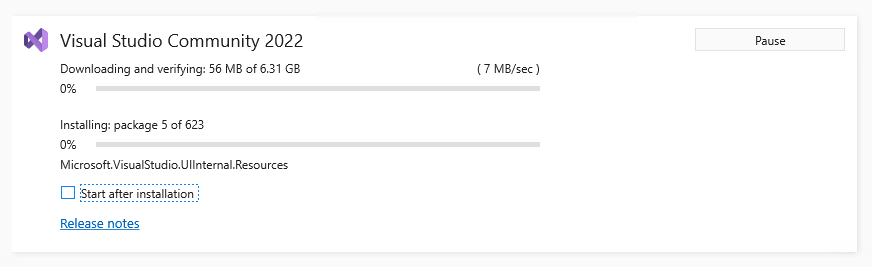
If you wish to launch Visual Studio immediately after the installation has finished, keep the Start after installation checkbox ticked.
If the Start after installation was not ticked, when the installation has finished, tap the Launch button to open Visual Studio.
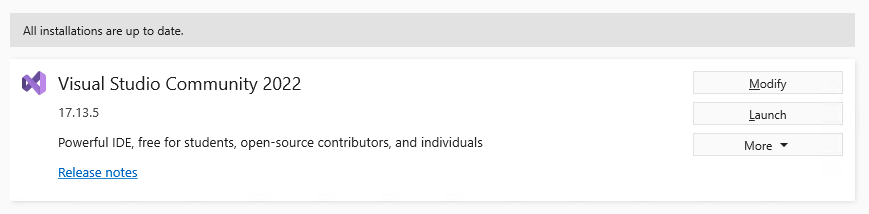
Visual Studio installation completed
Visual Studio on Windows is now installed and you are ready to develop C#!
Install Visual Studio Code
This guide has been created for the Windows environment. Therefore, the screenshots and instructions may differ slightly on macOS or Linux.
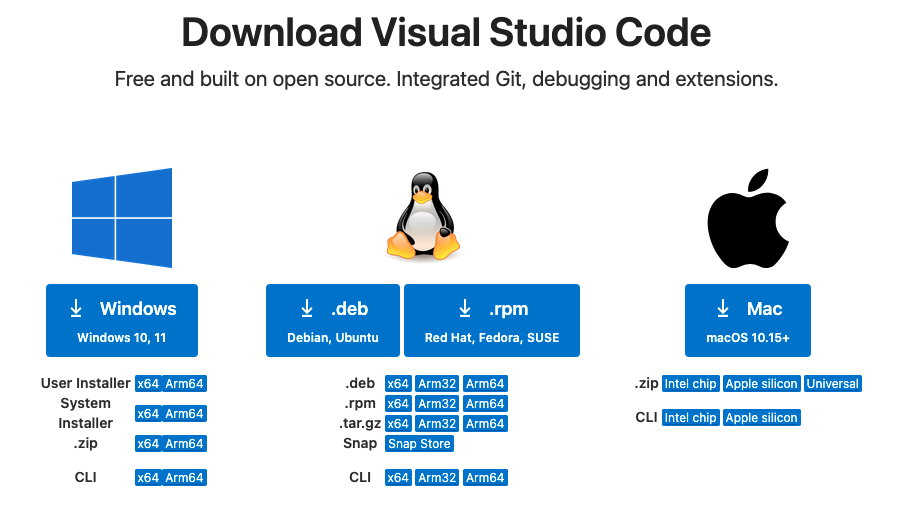
Head over to the Visual Studio Code download page in your favourite internet browser.
Under the operating system of your device, choose the appropriate download button (in blue).
Once the download is completed, open the installer.
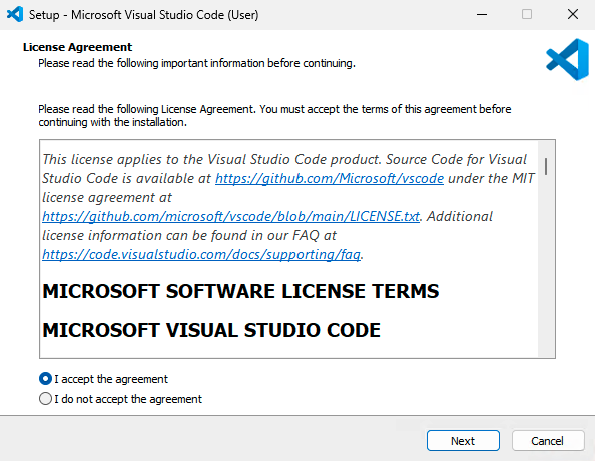
On the License Agreement screen, choose I accept the agreement and then tap the Next button.
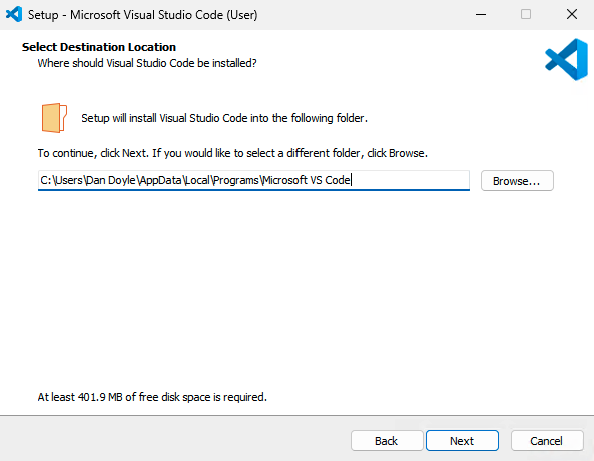
On the Destination Location screen, tap the Next button.
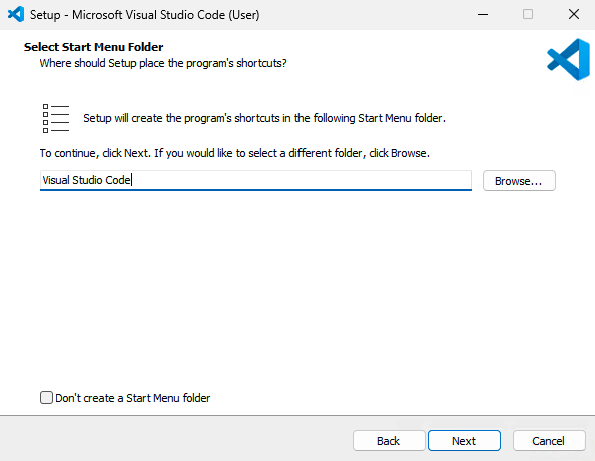
On the Select Start Menu Folder screen, tap the Next button.
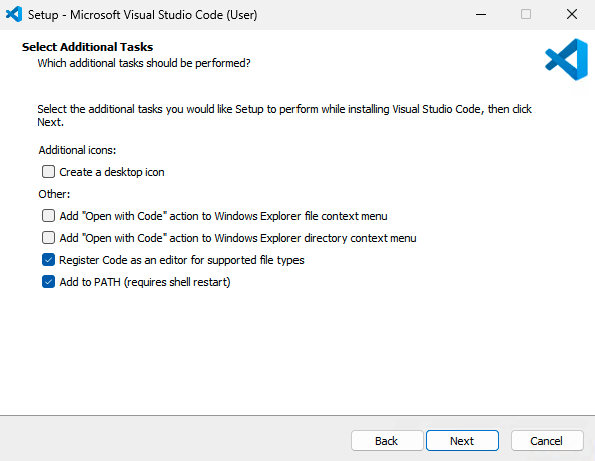
On the Select Additional Tasks screen, read carefully the options and choose checkboxes according to your preferences. We suggest at a minimum that you check Register Code as an editor for supported file types and Add to PATH (requires shell restart).
Once you have chosen your checkbox options, tap the Next button.
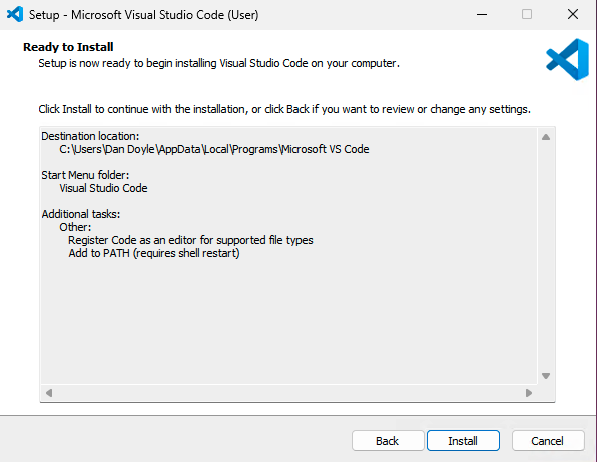
On the Ready to Install screen, tap the Next button.
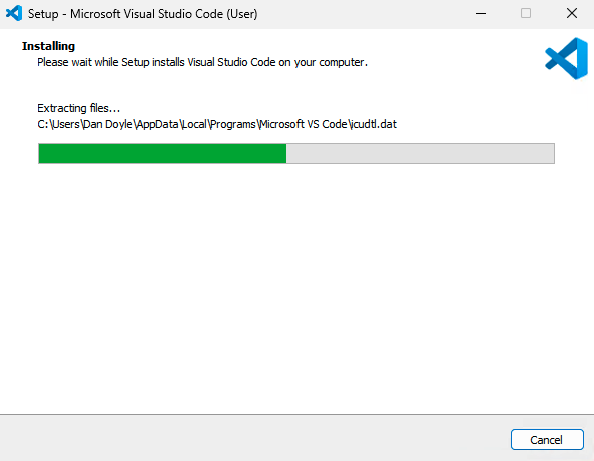
The installation will take some time. Be patient.

Once the installation has completed, tap the Finish button.
Configuring Visual Studio Code for C# development
Now that Visual Studio Code is installed, let's set it up for C# development.
With Visual Studio Code open, select the extensions screen button from the left side-bar menu. It looks like a bunch of square boxes, with the box on the top right separated from the others.
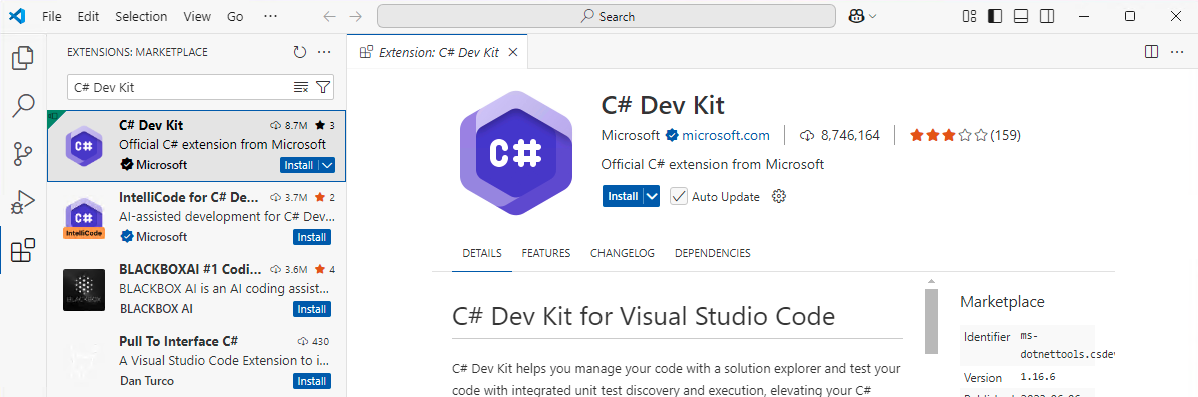
In the search input at the top of the extensions screen, input C# Dev Kit and search for the extension.
When the extension show is found in the extension list, tap on the Install button. Once completed, if the button changes to Restart, please tap the button to restart Visual Studio Code, and complete the extension installation.
Installation and configuration completed
Visual Studio Code is now installed and you are ready to develop C#!
Install and configure JetBrains Rider for C# development
This guide has been created for the Windows environment. Therefore, the screenshots and instructions may differ slightly on macOS or Linux.
Head over to the JetBrains Rider download page in your favourite internet browser.
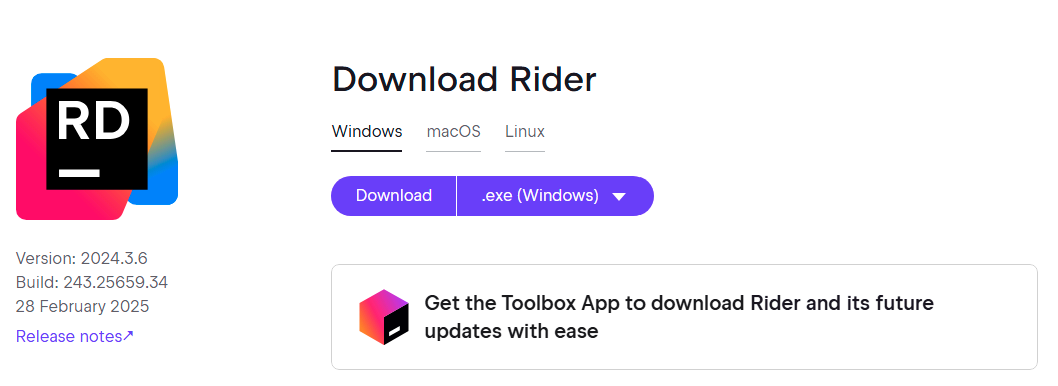
Choose the tab which matches your device's operating system, and tap the Download button to download the installer.
The download is large. We are taking almost 1.5 gigabytes, so unless you have super fast broadband, get yourself a beverage of your choice whilst the download is ongoing.
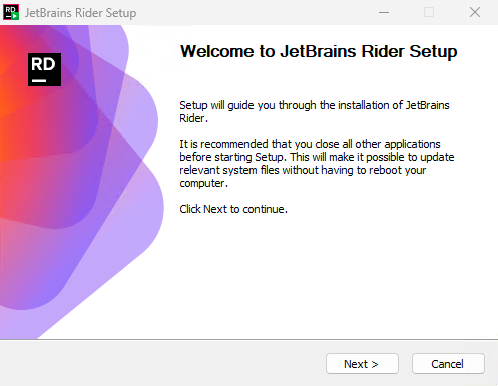
Open the installer and on the JetBrains Rider set up screen, tap the Next button.
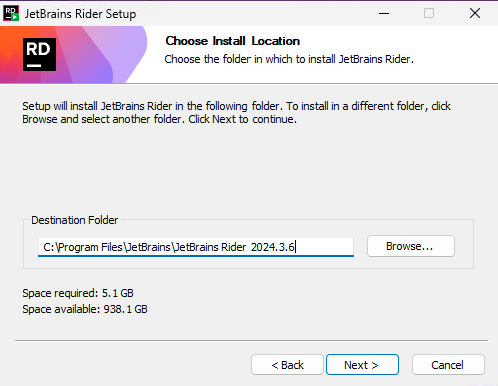
On the Choose Install Location screen, tap the Next button.

On the Installation Options screen, please read the unchecked options carefully. Check any you are interested in, but only check them if you know what they do. At minimum, check the Install JetBrains ETW Host Service and Add Rider executables to Microsoft Defender exclusions. To move on from this screen, tap the Next button.
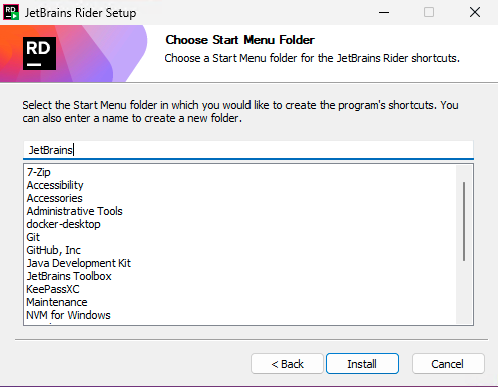
On the Choose Start Menu Folder screen, tap the Install button.
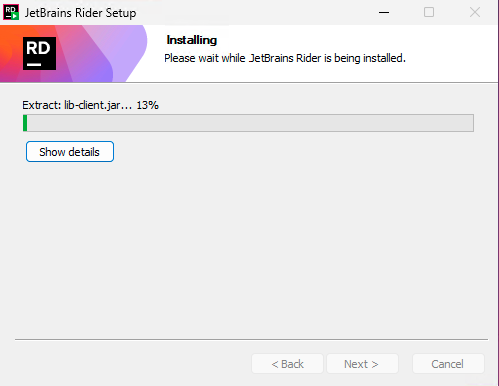
The installation will take some time. Be patient.
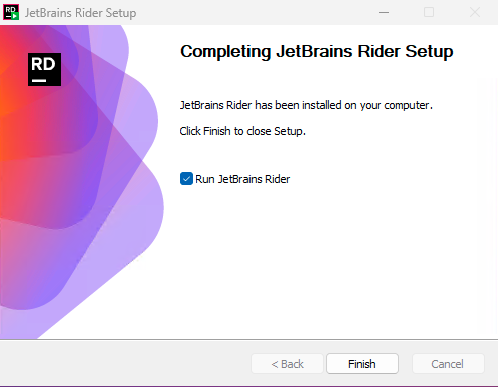
On the Completing JetBrains Rider Setup screen, tap the Finish button. If you do not wish to launch JetBrains Rider immediately after closing the installer, then uncheck the Run JetBrains Rider checkbox.
JetBrains Rider installation completed
JetBrains Rider is now installed and you are ready to develop C#!
Create your first Hello, World! project in C#
Now that you have your device set up to develop C#, let us continue and create your first C# project.
Below are instructions on how to create your first C# project in the dotnet CLI tool, Visual Studio, Visual Studio Code, and JetBrains Rider
Create your first C# project using the dotnet CLI
Below are instructions on how to create your first C# project using the dotnet CLI tool.

Open your terminal of choice and navigate to a directory where you wish to store your C# project.
Type in the following command:
dotnet new console --name HelloWorldThe dotnet CLI too has a plethora of commands. The new command takes a template name, and in this case we are creating a project based on the console application template.
Furthermore, we would like to choose the name of our project so passing the -name argument will allow us to specify the name that we wish the project to be. You have the option of shortening the argument to -n, although we prefer to be explicit in what we are doing, at least if we are automating these commands.

Now let's navigate to our newly created HelloWorld project using the following command:
cd HelloWorldRunning your first C# project using the dotnet CLI

To ensure the project is set up correctly, input the following command to run the project:
dotnet runIf the terminal displays Hello, World! as the output of running the project, it has been set up correctly.
Congratulations! you have set up and ran your first C# project in the dotnet CLI tool.
Create your first C# project using Visual Studio
Below are instructions on how to create your first C# project using Visual Studio.
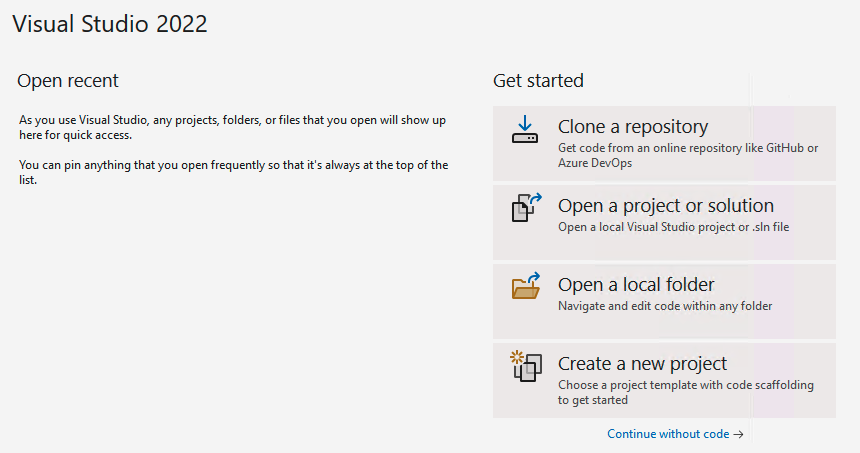
On the Visual Studio start screen, tap on the Create a new project button.
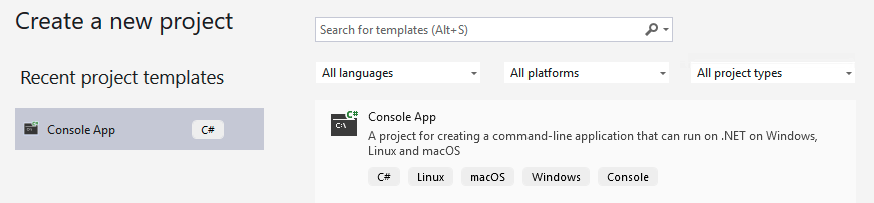
On the Create a new project screen, select the Console App and tap the Next button.
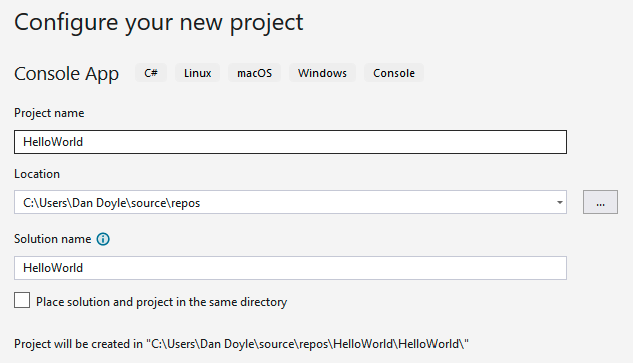
On the Configure your new project screen, input the project name as HelloWorld and tap the Next button.
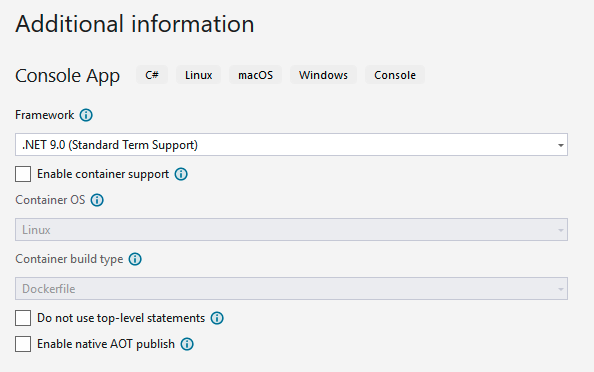
On the Additional information screen, choose .NET 9.0 (Standard Term Support) as the framework, and tap the Create button.
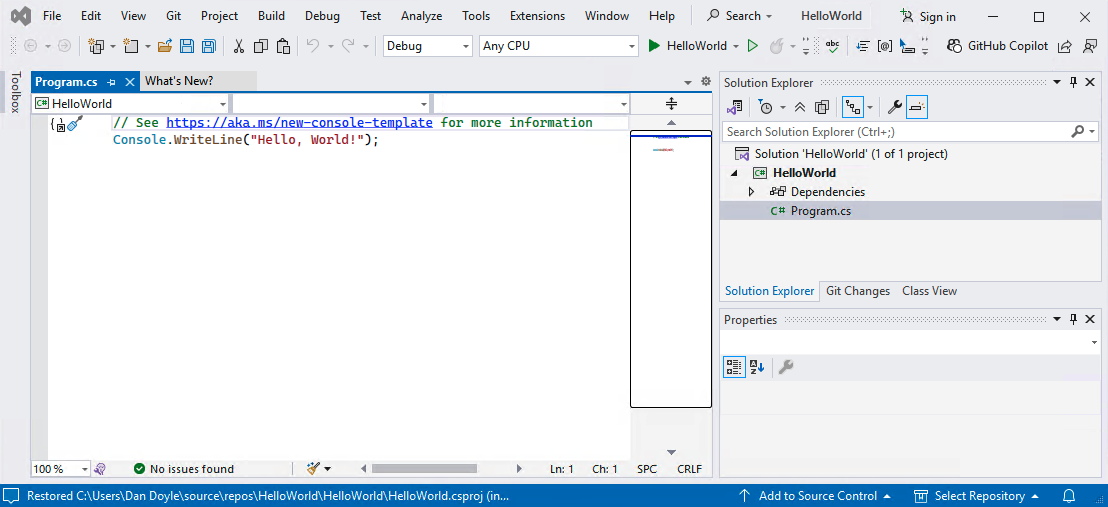
The project has now been created, and the code editor should be open on Program.cs. If not, open Program.cs in the Solution Explorer side menu.
Running your first C# project using Visual Studio
Now let us run the project. Tap on the HelloWorld button on the menu at the top of the screen. The button with the solid green triangle pointing right.
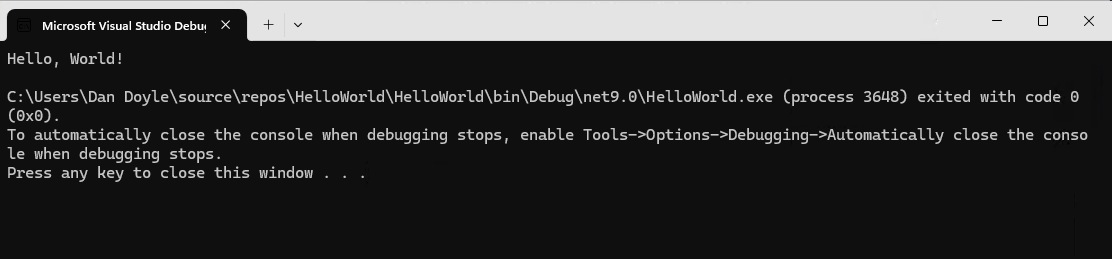
If the Microsoft Visual Studio Debugger console window displays Hello, World! as the output of running the project, congratulations! you have set up and ran your first C# project in Visual Studio!
Create your first C# project using Visual Studio Code
Below are instructions on how to create your first C# project using Visual Studio Code.
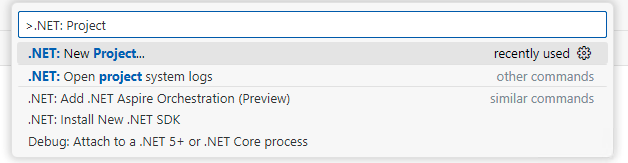
In Visual Studio Code, open the command palette and type in .NET New and choose the option for .NET: New Project
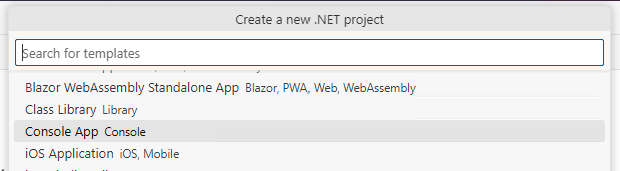
In the Search for templates search box, type in Console and choose Console App.
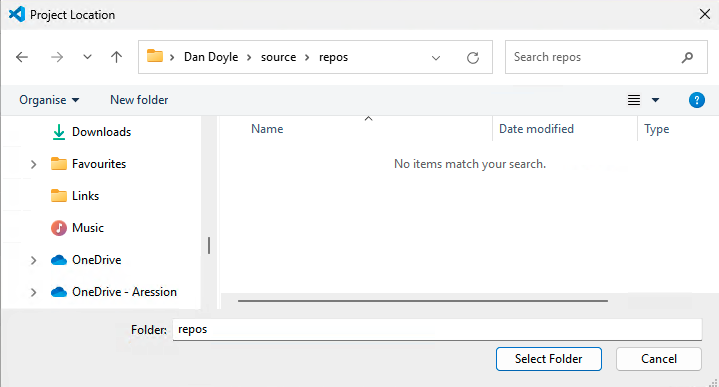
Navigate to a folder on your device where you wish to store your project.

On the Name the new project menu, chose HelloWorld as the name of the project.
If it askes you to Select a solution file format, choose sln at this time.
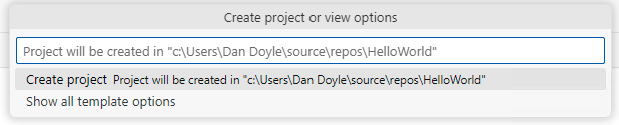
On the Create project or view options menu, choose Create project.
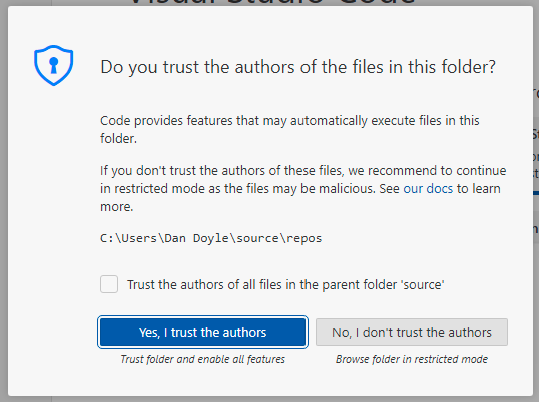
You may receive a pop-up asking you to trust the authors in the folder you chose to store your project. Choose Yes, I trust the authors.
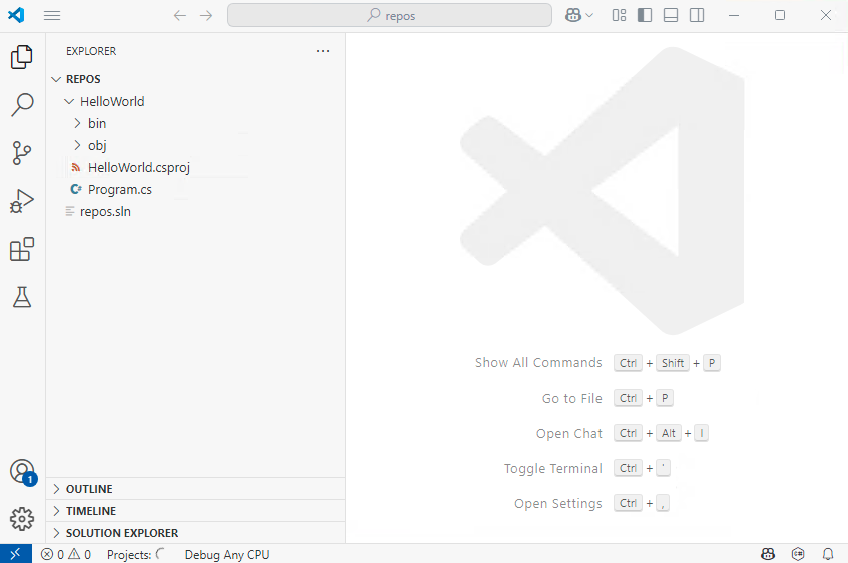
You have successfully created your C# project in Visual Studio Code. You can see from the screenshot your HelloWorld project and the Program.cs is where your code will be located.
Running your first C# project using Visual Studio Code
By opening your Program.cs you can see the code generated by the console template you used to create your first C# project.

Now let us run the project. Tap on the Run menu and choose Start Debugging or alternatively tap the F5 key on your keyboard.
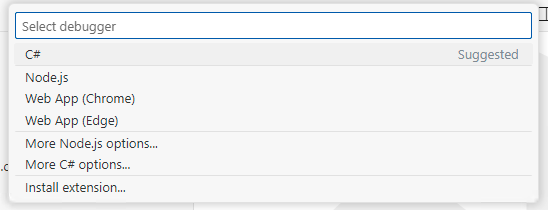
If you are asked to select your debugger, choose C#.

If you are asked for your launch configuration, choose C#: HelloWorld
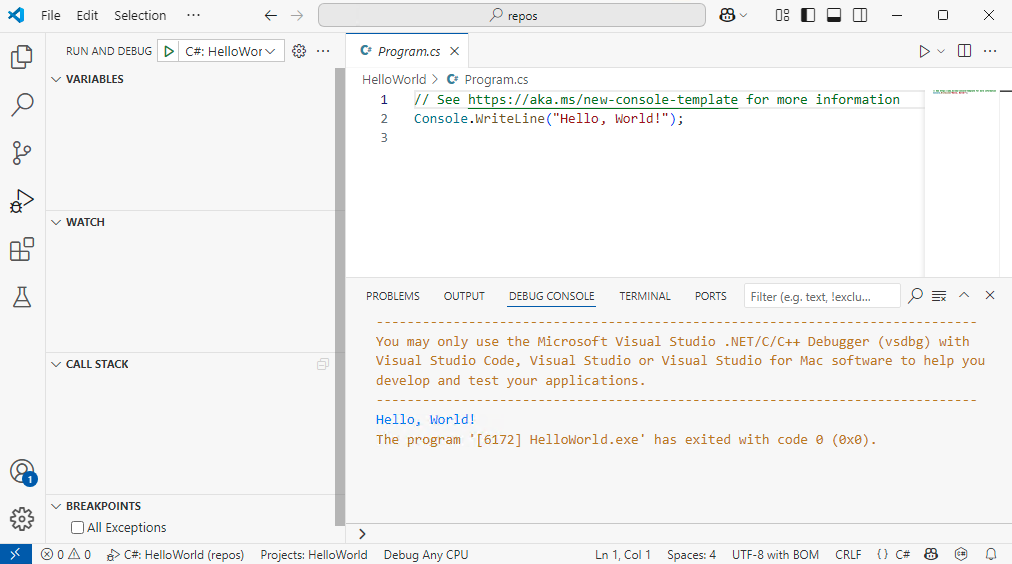
The debug console should open at the bottom of the screen and if your program runs successfully, it should display Hello, World! as the program output, as displayed in the screenshot. Congratulations!
Create your first C# project using the JetBrains Rider
Below are instructions on how to create your first C# project using JetBrains Rider.

On the JetBreains Rider welcome screen, tap the New Solution button to launch the new project wizard.
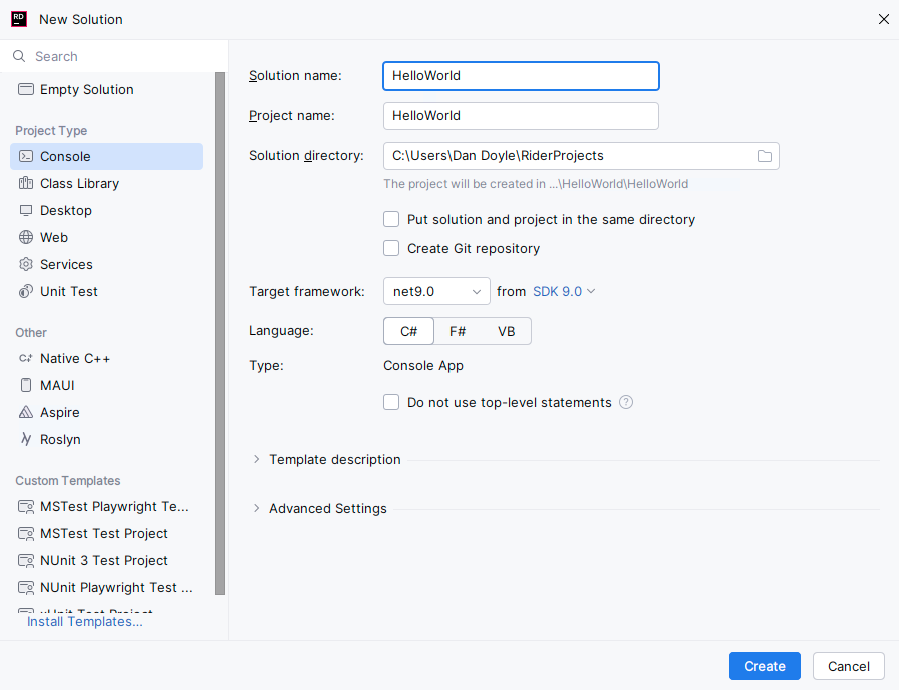
On the left hand menu under Project Type, choose Console and input HelloWorld for the solution and project name. Leave the other options as they are for now.
To move on to the next screen, tap the Create button.
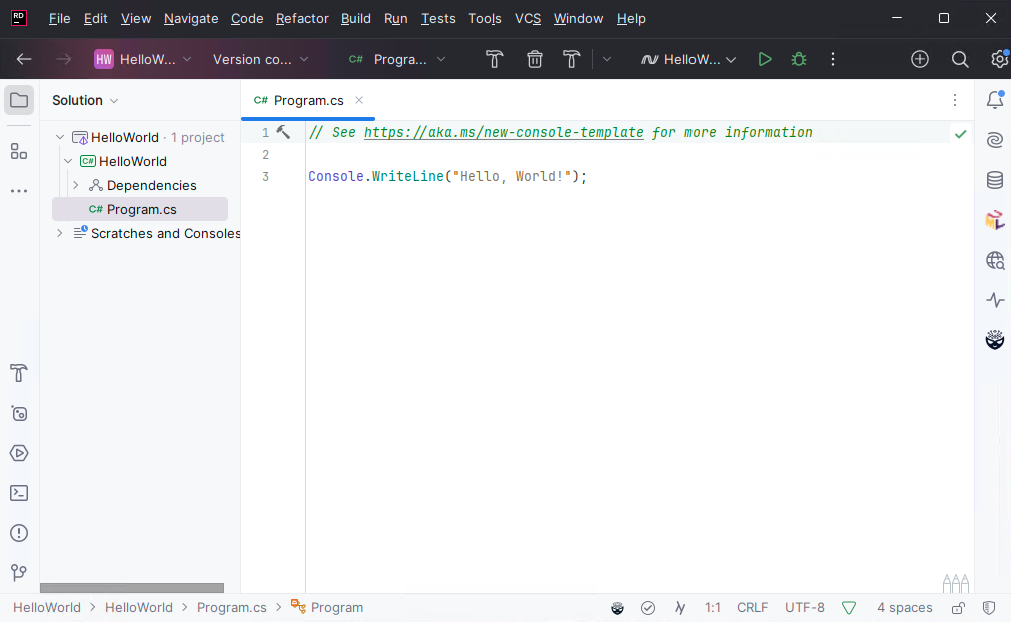
Your C# HelloWorld project has now been created. Congratulations!
Running your first C# project using JetBrains Rider
By opening your Program.cs you can see the code generated by new project wizard in JetBrains Rider.
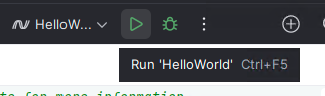
To run the program, tap the run button on the toolbar at the top of the Rider editor. It is a green triangle.

If the run window appears and displays Hello, World! as the output of running the project, congratulations! you have set up and ran your first C# project in JetBrains Rider!
Understanding your first C# project code
Now that we have a new project in C#, let us describe line by line what it does. Note though, that the code snippets below were from a project created using the dotnet CLI tool.
// See https://aka.ms/new-console-template for more information
Console.WriteLine("Hello, World!");In the first article of this series, Introduction to C#: A Beginner's Guide we mentioned top-level statements. You can see in the example on that article that you can simplify your program by eliminating all of the boilerplate code such as defining the Program class, and the Main method.
In the project we created in this article, it means your top-level Program.cs file contains only the code you actually want to work with.
Additionally, the default for new projects in .NET is to use top-level statements. This can be turned off when using the various IDEs in the new project wizard, or by adding the --use-program-main argument when using the dotnet CLI tool, as shown in the example below.
dotnet new console --use-program-main --name HelloWorldBreakdown of the Program.cs file
Here we can see on the first line of the file a comment. Comments in C# are to provide context to sections of code, be it classes, records, structs, methods, properties, fields, etc. We will go through comments further in a future article. For now, just know that comments are not executed as code within a C# program.
In this case, the comment is pointing you to a website which will describe the console template in detail.
// See https://aka.ms/new-console-template for more informationSecondly we have the WriteLine method, in the Console class. For now, think of Console as a container of methods to manipulating the terminal/console that you will see when you run the program.
The WriteLine method specfically outputs some text to the console/terminal, in this case, the words Hello, World!. We can explain more features of the Console class in a future article.
Console.WriteLine("Hello, World!");In conclusion
Now that you have set up your environment for C# development and created your first C# HelloWorld project, you are well on your way to becoming a C# developer. Congratulations!
Thank you for taking the time to read this guide, and please check back often for more C# and .NET articles.
View the source code for this article on GitHub

Founder and editor at Illumonos
Dan Doyle is a Technical Lead with over ten years of experience delivering C# and .NET solutions across both public and private sector industries, including construction, education, finance, healthcare, and start-ups. Over that time, he has worked across the full project lifecycle, from initial design and implementation through to deployment, integration, and long-term improvement, with hands-on experience spanning Azure cloud, enterprise systems, web applications, mobile apps, ETL processes, and Microsoft Dynamics integrations.
His writing is shaped by real software engineering experience and a strong focus on clarity, structure, and practical understanding. Through Illumonos, he aims to help developers build a stronger grasp of C# and .NET by explaining not just how something works, but why it works, what is happening underneath, and how to apply it properly in real projects.